
Scratch Board Use for Dog Nail Trims
Canine Scratch Board Use
Normally I am crazy about nail maintenance for my dogs and my clients dogs. However, when I was pregnant and after Keira was born I found myself unable to keep up with keeping their nails as much as I needed to. I had heard about using a scratch board in the past but had blown it off. Finally I decided to give it a try and GAME CHANGER!! The idea is that the dog will wear their nails down on their own by scratching on the board.
It is important that our dogs nails - pets and sporting companions - be kept at a length where they are not clicking on the floor. A good gauge is whether you can hear the nails clicking on the floor when walking, also you can look to see if the nails are touching the floor when the dog is standing. If the nail hits the floor when the dog is walking it actually jams the toe. It is a little like if you had not trimmed your own toenails and they were rubbing/hitting the front of your shoes. This can cause discomfort and also over time can result in damage to the ligaments in their toes and the development of arthritis.
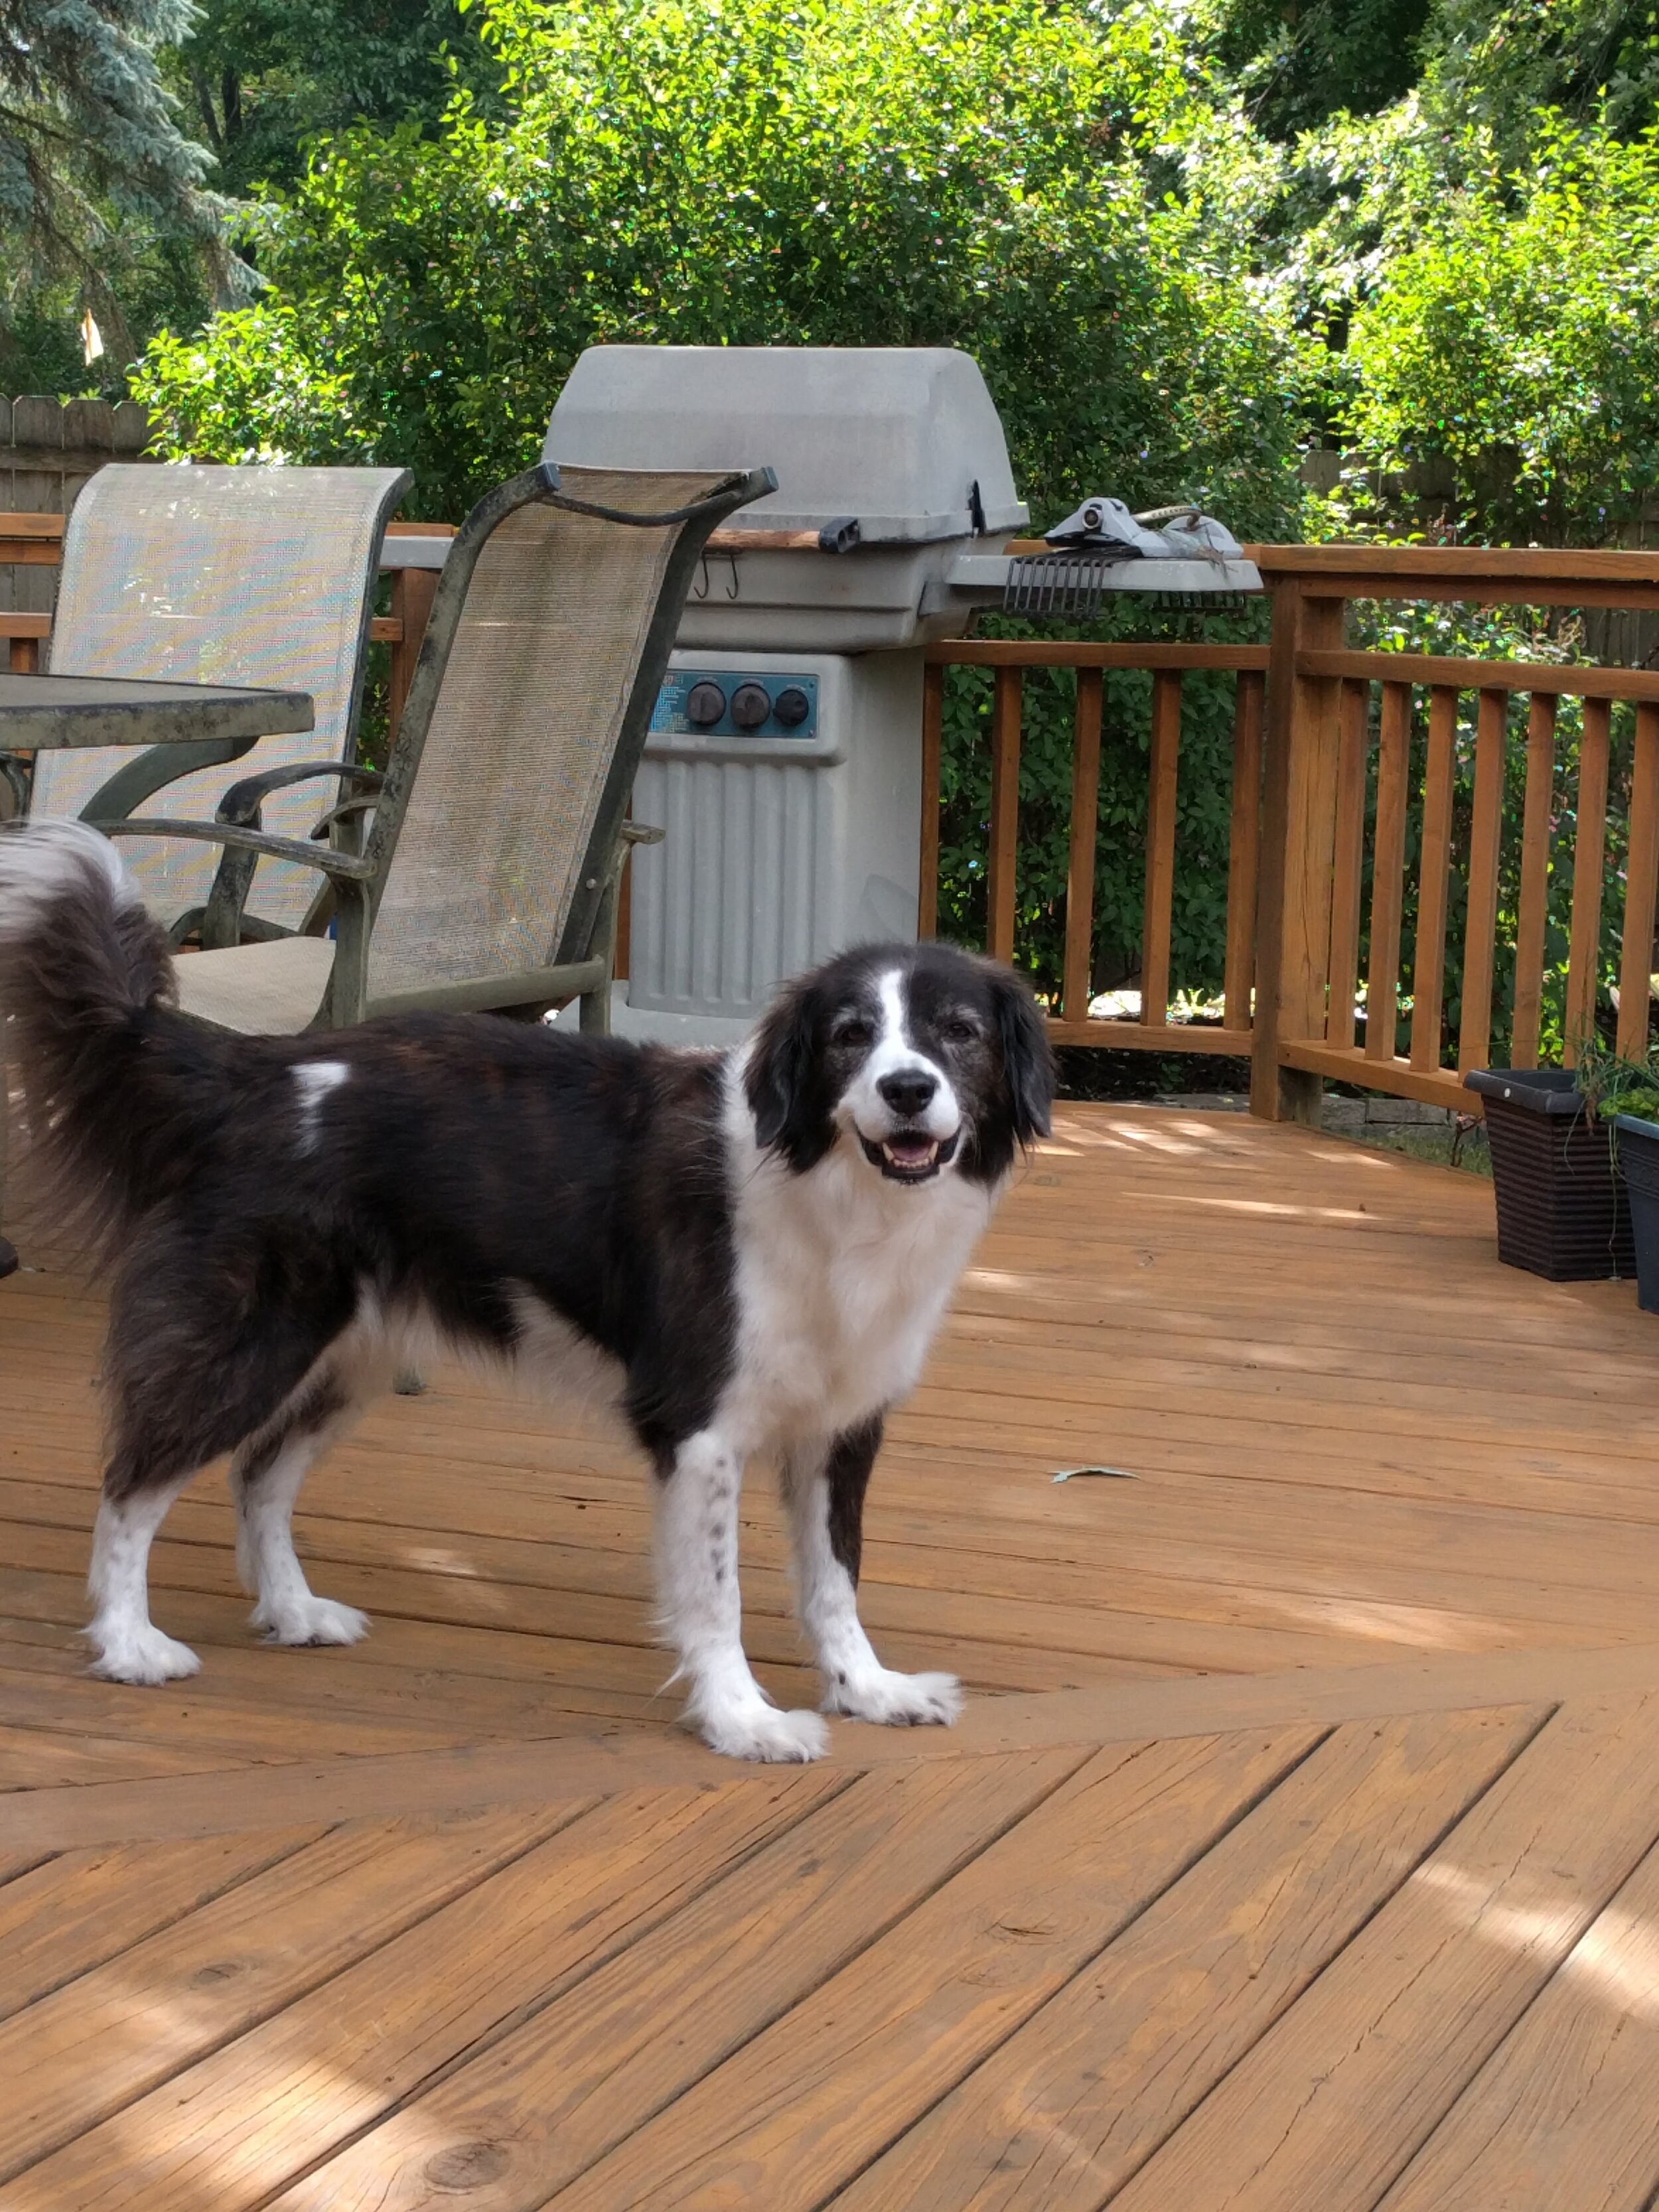
Also, the nails hitting the floor gives feedback into the dog’s nervous system telling them that they are walking uphill. This causes the dog to shift his weight backwards and he will start to drop in the carpus. Here are two images of my older dog. He started to hate having his nails trimmed around when he turned five and it became an ordeal to do them - thus they got longer than they should have. In the first image his nails are still short because I was doing them regularly. You can see that his carpus (wrist) is still relatively straight. In the second image he is older and I’ve allowed his nails to get longer than I should have. His carpus is much more angulated (“dropped”) than in the first picture. Look past the untrimmed toe fur and you can see the toes have lengthened and look longer than they should. This is different than a dog who has had an injury to the flexor tendons of their feet and their toes elongate because of that. I wish I would have known about scratch boards back then! We never know what is going to happen and I really regretted later in his life when he became a tripod that I had let this happen because it had weakened his remaining leg.

Rory with a nice carpus before he got bad about having his nails done and his nails got long. This picture is mid-shake, he really was a handsome dog.
Rory with a much weaker carpus later in life. Please ignore the unkempt toe fur.

Here is a second view of his carpus and feet from when he was younger. Yes, I made him wear a Halloween costume. Yes, I made it myself.
There are several scratch boards that can be purchased online or you can make your own.
Dog Scratch Board DIY - there are many examples in blog and youtube form if you google “canine scratch board DIY”. I recommend using 120 or 80 grit sandpaper if you are making your own. It depends on how hard your dog’s nails are. I feel like I could get away with 120 for two of my dogs, but I need 80 for the third - thus they all get 80. You have to watch and make sure it isn’t too rough on their nails. Also, make sure they are really scratching with their nails, not the pads of their feet.
Because I am over the top, I made my own scratchboard using a calf stretching slant board that I got on Amazon - Incline Slant Board. I really liked that the height was adjustable and that I didn’t have to hold it. The sandpaper kept knicking my nails and its like nails on a chalkboard for me. Side benefit changing the angle of the board was useful to make sure that my dogs all were getting good angles on their nails. My different dogs all need different vertical angles to get the perfect trim.
First - peeled off the non-slip surface that the board came with.
Second - used double sided tape to adhere the sandpaper to the board. This worked great for the upper pieces, but it inhibited the path of the dogs nails on the scratch when they would hit the bumps. You can see the bumps in the video with Teigh and Vex.
Third - used a spray adhesive to adhere the sandpaper to the board.
How to teach your dog to use a scratchboard?? I am sure there are many different approaches and there are many videos that can be found on youtube. This trainer has videos for teaching front and rear foot scratching and I really like her approach.
Here is what I did:
Step 1: placed the scratch board down flat on the ground and rewarded my dog for any interaction with it.
Step 2: held a cookie in my fist and rewarded the dog for pawing at my hand. Jackpot for missing my hand and getting the board.
Step 3: increase the angle of the board
Step 4: slowly move my hand to the edge of the board
Step 5: move my hand behind the board
Step 6: reward for pawing at the board
Here is a video of me with my border collie Teigh. I am rushing him through the first steps, but you can get the idea. Then at the end there is a little bit with my Miniature American Shepherd Vex. He is very enthusiastic and you can see another reason why I had to switch from the taped on pieces of sandpaper.
Alternatively if your dog will paw at something you point at, you can hold the board and tap it. Then you can reward them pawing at the board.
If I can teach this, so can you!! Here is a video of my older border collie working through this process. He is very difficult to shape behaviors in, so I felt like he was a good example dog. He is also the dog with the longest nails at the moment. Using the scratch board a little bit every couple days will help you to get the perfect nail in just a short amount of time.
Things to watch for:
Make sure your dog’s nails are what touch the scratchboard not the pads of their feet.
Watch your dog’s nails and make sure that they are not taking too much off their nails and exposing their quick.
Make sure your dog is using both feet.
Current clients - if you are having trouble give Jeanne a call to schedule an exercise session and we can work through any issues you might be having.
Let me know what questions you have! Good luck scratching!!